TL;DR: Microsoft Word is an affordable, practical way to create a professional-looking restaurant menu using customizable templates, tables, consistent typography, images, and PDF export. But getting the document to look professional, and knowing when Word starts creating more work than it saves, depends on a few layout choices and limitations covered throughout this article.
-
Why it matters: A poorly structured menu can be difficult to scan, inconsistent when printed, and time-consuming to update. Setting up your Word menu correctly from the start helps you create a polished, readable menu without investing in dedicated design software.
-
Who this is for: New restaurant owners, café and food truck operators, and independent foodservice businesses that need an affordable, straightforward way to create and manage a menu.
-
Who can skip this: Multi-location restaurant operators already using centralized menu management technology or businesses that need real-time POS and digital ordering integrations.
-
What you’ll walk away with: A seven-step process for turning a basic Word document into a polished, print-ready restaurant menu, and a clear understanding of when your operation has outgrown Word.
-
Best next step to take: Open a Word menu template, set up your page dimensions and two-column layout, then work through the seven steps before exporting your finished menu as a PDF.
If you’re opening a restaurant on a limited budget, Microsoft Word is a practical place to start when you need a professional-looking menu without investing in dedicated design software. Whether you’re creating a menu for a new restaurant, cafe, food truck, or another foodservice business, you can use Word on your computer or Word for the web to customize a template or build your menu from scratch.
For a simple menu that you can update yourself and export as a PDF, Word is often enough. It won’t give you the advanced menu management capabilities of restaurant-specific software, but you can still create a professional menu in Word, and the steps below will show you how.
Can You Create a Professional Restaurant Menu in Microsoft Word?
Yes, you can create a professional, print-ready restaurant menu in Microsoft Word with the right layout, formatting, and design choices. Word works well for straightforward menus because you can start with a customizable template or build your own layout using tables, fonts, colors, and images.
However, Word is primarily a document creation tool, so your finished menu is essentially print-based or a static file, such as a PDF. It does not provide restaurant-specific capabilities such as real-time menu updates or integrated digital ordering.
Step 1: Start With a Word Menu Template
Starting with a pre-designed template is the quickest way to create a restaurant menu in Word without spending extra time building the layout from scratch. Open Microsoft Word, select File > New, and search for “menu” in the template search bar to browse the available designs.
Microsoft Office offers 50+ restaurant menu templates that you can customize with your own menu items, prices, colors, fonts, and business logo. Choose a template that closely matches your restaurant’s style and menu structure, then customize it rather than starting with a blank document.
Step 2: Set Up Your Page Layout
Before adding your menu items, set up the page dimensions so the finished menu has balanced spacing and is easy to print. For a standard single-page restaurant menu, use U.S. Letter (8.5 × 11 inches). If you’re creating a larger fold-over menu, an 11 × 17-inch tabloid layout gives you more room for menu sections.
Set your margins to 0.75 to 1 inch on all sides. Going narrower can make the page look crowded, while overly wide margins take away valuable space you could use for menu items and descriptions.
For most single-page menus, portrait orientation works best. Choose landscape orientation when you need a wider format, such as for a bifold menu with multiple sections displayed side by side.
Step 3: Create a Two-Column Menu Format in Word
A two-column table is one of the easiest ways to create a clean, consistent menu format in Word. Go to Table > Insert Table, select two columns, and add as many rows as you need for your menu items.
Next, remove the visible borders by selecting the table and choosing Table > Borders > No Border. Removing the borders leaves the underlying table structure intact, keeping names, descriptions, and prices aligned without visible gridlines. Adjust the column widths to give each section enough space and maintain consistent spacing throughout the page.
Use the left column for the item name and price, formatting them in bold and a slightly larger font. Use the right column for the description, keeping the text smaller and in regular weight. Aim to keep each description under 20 words so customers can quickly scan the menu without facing large blocks of text.
Step 4: Choose Fonts and Typography
Good typography keeps your menu consistent and easy to read. Stick to a maximum of two complementary fonts: one for your restaurant name, section headers, and item names, and another for descriptions and prices.
For headings, choose a serif font such as Georgia or Garamond, or a clean sans-serif such as Calibri Light. For body copy, readable options include Calibri, Arial, or Lato at 9 to 11 pt. Avoid overly decorative fonts, especially for descriptions and prices, where readability matters most.
Use consistent font sizes to establish a clear visual hierarchy:
- Restaurant name: 18–24 pt
- Section headers: 14 pt
- Item names: 11–12 pt, bold
- Descriptions: 9–10 pt
Keeping your typography consistent makes each section easier to scan and gives the entire menu a more professional appearance.
Step 5: Add Section Headers and Menu Organization
Organize your menu into clear sections such as Appetizers, Entrees, Desserts, and Beverages so customers can quickly find what they want. Place each section header above the relevant menu items and make it visually distinct using a larger font size, bold text, or another subtle element from your chosen color palette.
To keep these headers consistent in Word, use Heading Styles rather than formatting each one individually. Select a section title, choose a heading style from Home > Styles, and customize its font, size, spacing, and color. You can then apply the same style to every section header for a consistent look.
If you’re using tables for your menu layout, you can also merge cells to create section titles that span the width of the relevant menu section. This helps separate categories clearly while keeping the overall layout organized.
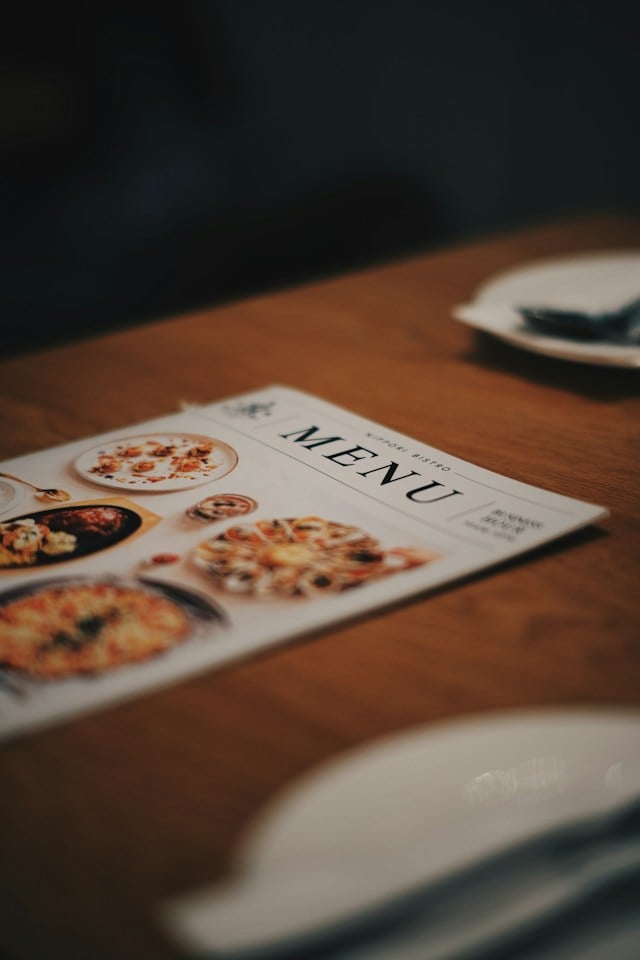
Step 6: Add Food Photography (Optional but Recommended)
Used selectively, high-quality food photography can draw attention to signature dishes and give customers more information when choosing what to order. In fact, adding food photos to a menu can increase orders by up to 30%, making carefully selected images particularly useful for highlighting signature or high-priority dishes.
To add a photo in Word, go to Insert > Pictures, choose your image, and use Wrap Text to control how it sits alongside your menu content. For cleaner placement, use options such as Square or Tight to keep images from interfering with item names, descriptions, or prices.
Image quality matters when the menu will be printed. Aim for at least 150 DPI for acceptable print quality and ideally 300 DPI for professional results. Avoid enlarging small or low-resolution images in Word, as this can make them appear blurry or pixelated when printed.
Step 7: Export to PDF Before Printing or Sharing
Once your menu is finished, export it as a PDF before printing or sharing it. Exporting to PDF locks in your fonts, spacing, images, and overall layout, reducing the chance of elements shifting on another device or printer.
In Word, go to File > Save As, select PDF as the file format, and save the final version. Before exporting, proofread your menu for spelling mistakes, incorrect prices, and formatting inconsistencies.
Avoid relying on the original .docx file for printing or sharing. Different devices, Word versions, and printer drivers can cause elements to shift, whereas a PDF keeps the final menu layout more consistent and is also easier to share digitally.
When to Move Beyond Word: The Limitations of Word Menus
Microsoft Word can be a practical starting point, but it becomes harder to manage as your restaurant grows. Many operators may outgrow a Word-based menu within 12–18 months, particularly when they introduce digital ordering channels or expand beyond a single location.
Word cannot connect directly to your point-of-sale (POS) system or online ordering platform, which means price, item, and availability changes need to be updated manually across each channel. It also cannot power live digital menu boards or QR code menus with real-time updates, increasing the work required to keep menu information consistent.
Word becomes even less practical for multi-location restaurants because each location may need its own separate menu file. Consider moving to dedicated restaurant menu management technology when you:
- Add online ordering or a digital menu.
- Introduce digital menu boards or real-time menu updates.
- Open a second location and need to manage multiple menus.
- Need menu information and pricing to stay synchronized with your POS and other ordering channels.
At that stage, updating menu information in one centralized system is much more practical than repeating the same changes across multiple files and channels.
Frequently Asked Questions About Creating a Menu in Word
Can I Make a Professional Restaurant Menu in Word?
Yes, you can create a professional-looking restaurant menu in Microsoft Word with the right template, typography, and layout. It may not offer the design flexibility or restaurant-specific features of professional menu software, but Word can produce a clean, readable, and print-ready menu. For a new restaurant operator working with a limited budget, that can be more than enough to get started.
What Is the Best Word Template for a Restaurant Menu?
The best Word menu template is one with a simple two-column layout and a clear hierarchy between menu sections, item names, descriptions, and prices. Microsoft’s built-in template library offers more than 50 options. Go to File > New and search for “menu” to browse them.
Choose a design that requires minimal restructuring and gives you enough space for your menu categories and descriptions.
How to Make Restaurant Menus on Microsoft Word That Look Professional
Keep the design simple and consistent: use no more than two fonts, remove visible table borders, and export the finished menu as a PDF. If you include food photography, use 300 DPI images for professional-quality printing and avoid stretching low-resolution photos.
Following the seven steps above, from choosing a template to setting up your layout and typography, can help you turn a basic Word document into a polished, print-ready restaurant menu.
When You're Ready for More Than Word Can Offer
Word is a perfectly reasonable starting point when you need an affordable, straightforward menu you can create and update yourself. As your restaurant grows, however, manually maintaining separate menu files can become less practical.
When you need a digital menu connected to online ordering, real-time menu updates, and a loyalty program, Paytronix can help bring those experiences together. Request a Paytronix demo to see how you can move beyond static Word menus and manage a more connected digital guest experience.

 Julia Bigwood
 Julia Bigwood : Oct 01, 2026